


Inlaying the purfling
Three hand tools where used to do the job.
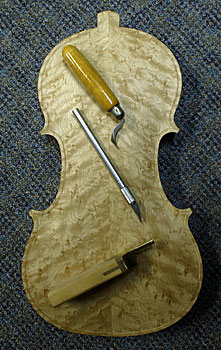
A purfling cutter, a purfling groove cleaner and an X-acto knife.
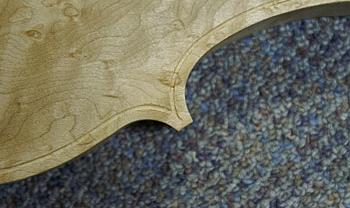
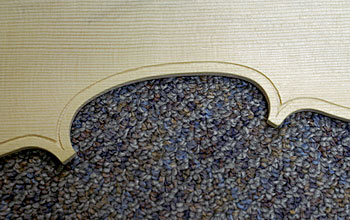
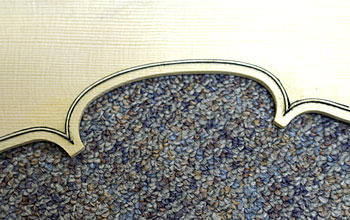
Notice on the right, the nice sharp point, called the bee-sting.
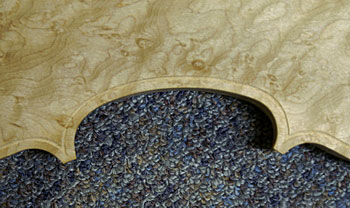
As you can see I had some fun working through a few knots.
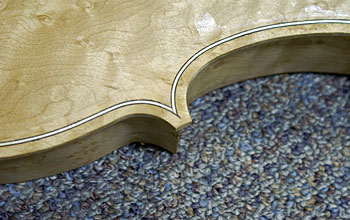
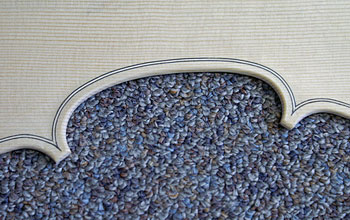
The picture on the left showing the purfling raised above the back plate, and on the right planed down flush.
The purfling consists of three laminated pieces of wood about 2mm wide and 3mm high. They get cut to the length needed, bent with the heating iron, joining only at the pointed corners.
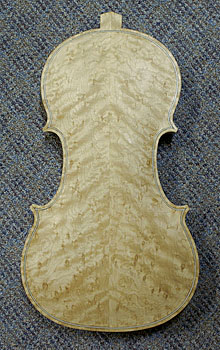
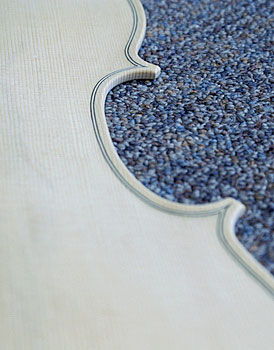
For my first attempt I was quite pleased how it turned out.
Now for the belly purfling.
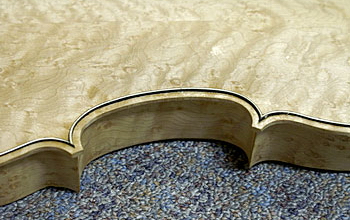
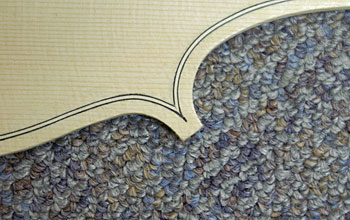
The spruce was much easier to work with, but had to watch that the purfling cutter didn't follow the grain when running lengthwise with it.
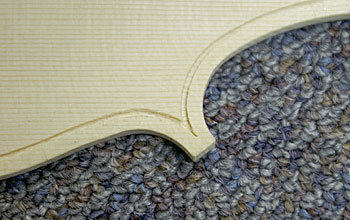
Again, the picture on the left showing the purfling raised above the back plate, and on the right planed down flush.
Notice on the nice sharp points, called the bee-sting.
This is after the purfling channel was gouged out with a small oval scraper and the edges rounded.

Next is the "f" holes and then the bass bar.
